
First Time Right: A Step-by-Step Guide to the Perfect Layout Plan
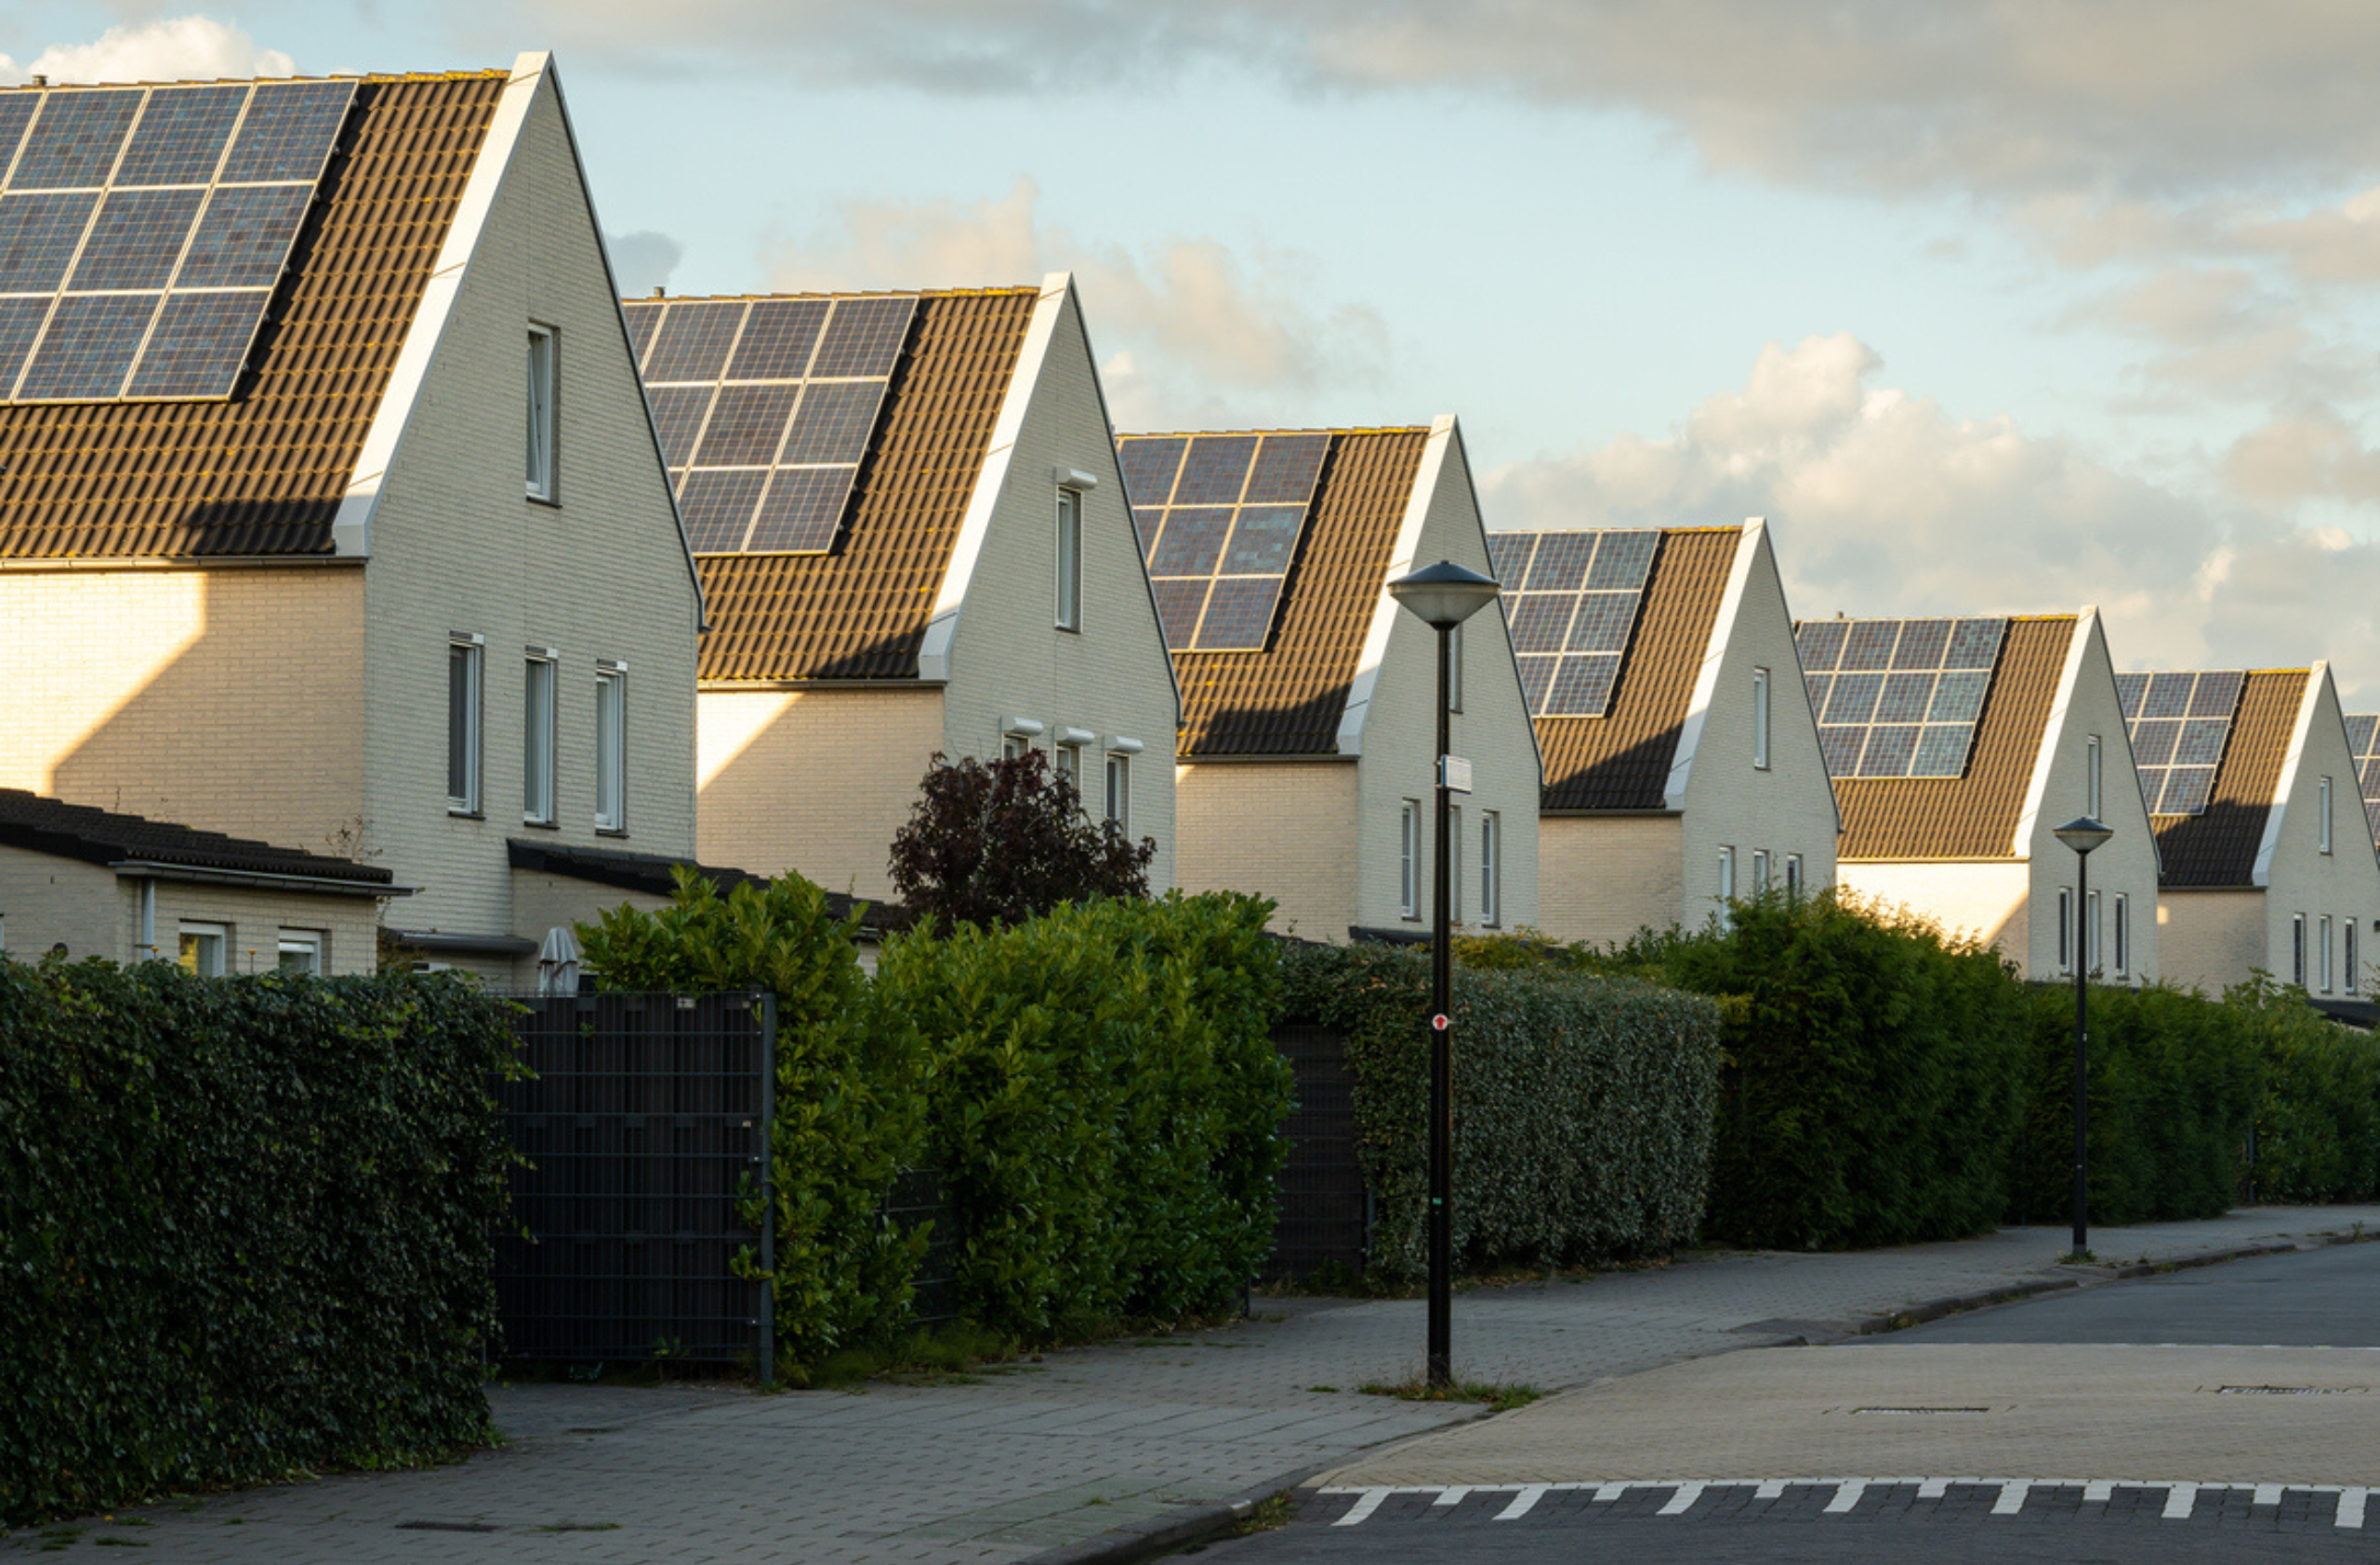
Every installation job has its challenges, whether it is unexpected obstacles on the roof or simply not enough space for the number of panels you want to install.
‘First Time Right‘ installations are those that can be delivered according to the technical design, with no residual issues or defects and no problems such as material shortages or miscalculations.
Do you want to provide your customers with First Time Right installations? Do you want to design a well-thought-out solar design plan that takes the various challenges into account? An installation that can be completed right the first time? 2Solar can help you. Keep reading for all our insights on First Time Right installations.
Good Preparation is Key
Proper preparation is the cornerstone of First Time Right installations. Our software’s design module enables you to quickly and accurately create a complete layout plan without ever needing to go on the roof yourself. The software does the heavy lifting for you, offering numerous features that simplify your work and help you achieve a solid preparation.
It starts with mapping out the roof and potential obstacles on the project. How do you do this remotely? Using various map layers in 2Solar, you can get a clear picture of the surroundings, the house, and roof specifications. For example, check the property boundaries with BAG data and map out the surroundings and the roof with Street View. You can also use other data to:
- Get a visual of the project location.
- Assess the space available on-site (is there enough room to park the van?).
- Determine where and how to access the roof, the type of scaffolding needed, and if you can hang your RRS roof edge protection in the gutter.
- Check for obstacles on the roof like chimneys or pipes that need to be built around.
Identifying these factors in advance helps you avoid unwanted surprises upon arrival and ensures you are better prepared.
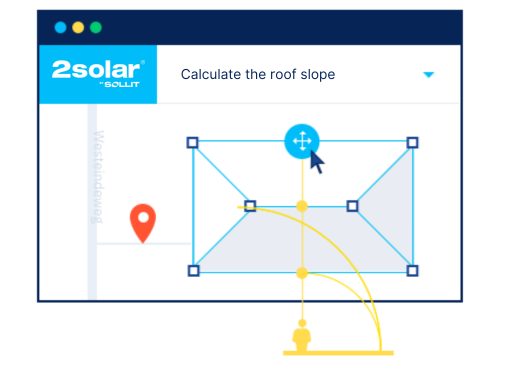
Calculate the Optical Roof Slope
When working on a sloped roof, it’s crucial to calculate the roof’s pitch. The size of your solar panels is optically adjusted in the layout module to the correct slope. If you skip this step, you might end up working with incorrectly sized panels, potentially leading to either an overestimation or underestimation of the number of panels that fit on the roof. This could result in disappointing the customer if you can’t install the promised number of panels.
Adding a Safezone
For all roof types, it’s important to maintain a certain distance (approximately 30 cm, or one tile) from the property boundary, edge, and obstacles, as your substructure often protrudes a bit. This becomes problematic if the neighbour also wants to install solar panels.
For flat roofs, the edge zone/safe zone is especially critical. If not calculated correctly and your panels are too close to the roof’s edge, strong winds or storms could blow them off the roof.
Extra tip: Check with Street View whether the roof ridge is bricked. If it is, you have less room to move roof tiles where you can place your hooks and profiles. Therefore, account for this when drawing your layout plan.
Select the Type of Solar Panel
You can easily select the type of solar panel you want to work with from a list, specifying whether they should be placed horizontally or vertically. You also select the roof type and the kind of roofing material for your project. All these variables are incorporated into your layout plan. Draw all the solar panels on your layout plan, considering all the variables mentioned.

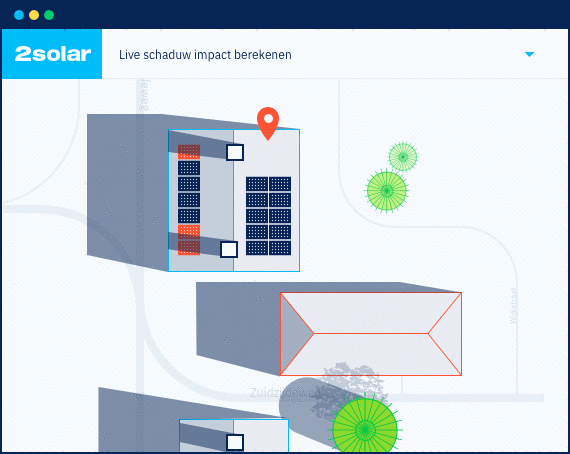
Shadow Impact and Obstruction Calculation
Once you’ve drawn the solar panels, you move on to calculating the shadow impact. Solar panels are naturally affected by surrounding obstacles like dormers or trees. Our software allows you to easily perform an exact shadow calculation. PVGIS software, LiDAR 3D data, and high-resolution aerial photos provide a clear view of the situation. An animation shows a 24-hour cycle depicting the shadow cast by objects such as a tall tree next to the house. Based on this data, a yield calculation of the solar panels, including shadow periods, is made. You can also determine if any panels require optimisers.
Technical Considerations in the Design
Within our design module, you can easily choose an inverter that best fits your solar panels and layout. Naturally, we base this on your product range and price list, as these are included in 2Solar. We provide an inverter suggestion that calculates the optimal inverter from your product range based on the installation’s maximum yield, showing any under- or over-dimensioning.
To get insight into the right materials, you can use our integrations with configurators from our integration partners.
Unsure which inverter to choose? Consider the following factors:
- Sound level (some inverters are noisier than others)
- Efficiency
- Central inverter or micro inverters
- Non-hybrid or hybrid inverter
- Warranty and purchase price
- Monitoring options (via the internet, Bluetooth, iPhone/Android apps)
- Smart control (to maximise self-consumption, these inverters must be able to communicate with other home automation or devices like the heat pump or charging station)
Additionally, the string distribution is important for the installation so your technicians can see how to connect the panels directly. All this information is available in your 2Solar environment.
First Time Right: A Step-by-Step Plan
To achieve First Time Right installations, it’s crucial to apply the following steps to all your installations and adhere to them consistently. Here’s a step-by-step summary:
- Start with proper preparation:
a. Choose the best map layer and check BAG data.
b. View Street View: What does the house look like, is there space to mount, and where will you access the roof? - Calculate the optical slope.
- Account for the edge zone (this applies to all roof types).
- Select the type of solar panel and start drawing your layout plan.
- Calculate the shadow impact of trees or other surrounding obstructions like chimney pipes.
- Consider other technical aspects.
a. Make a string division
b. Choose the right inverter
Go for a 100% First Time Right Score
With the right preparation and tools from 2Solar, you can complete every installation correctly the first time. By using our comprehensive software, you ensure that each layout plan is perfectly tailored to your customer’s specific situation. This way, you avoid surprises and meet the highest expectations.
Want to start with successful First Time Right installations right away? Contact us for a demo or try our software for free. Together, we’ll ensure every job is a success!